Contents
- 1. The “Why Am I Studying English?” Survey
- 2. The Self Assessment Passport
- 3. Mind Maps as Progress Checks
- 4. The “I Can / I Can’t” Game
- 5. The “Bad Day” Roleplay
- 6. Create a Themed Rubric
- 7. Create Their Own Tests
- 8. “What’s Your Favorite Series?” Discussion
- 9. Student Portfolio Presentation
- Tips For Successful Self Assessment
- And One More Thing...
9 ESL Self Assessment Activities for Learners
Self assessment gives students that moment when they stop what they’re doing and ask themselves: “What am I getting out of this?” or “Have I really learned anything from this class?”
Unfortunately, this reflection isn’t something that’s always programmed into the class work. You might get through a whole academic year and never pause to reflect.
Even if you do, you might not know how to maximize the benefits of self-evaluations in the ESL classroom. Let’s take a look at nine ESL activities that combine ESL lessons with self assessment.
Download: This blog post is available as a convenient and portable PDF that you can take anywhere. Click here to get a copy. (Download)
1. The “Why Am I Studying English?” Survey
All students are in the ESL classroom for a reason. Some know why they’re there and working towards a clear-cut goal, while others might be studying English to satisfy a professional or educational requirement. Either way, identifying the “why” that motivates students helps you to better understand your students’ needs.
Objective: Identify reasons for studying English.
Who it’s for: Best with intermediate to advanced students, but can be used for beginners able to make short answers.
What you need:
- Flashcards with various reasons for studying English written on them (for example: “for work,” “for travel,” “for university,” “my boyfriend is American,” etc.)
How to proceed:
Pass flashcards to your students and then ask the class whether they’re familiar with the reason listed on their cards. Make sure to teach any reasons that students don’t understand.
Collect and shuffle the cards, then repeat the process a couple more times.
When finished, pass out the “Why am I studying English” survey and have your students walk around the classroom questioning each other on why they’re learning English.
2. The Self Assessment Passport
The European Language Portfolio (ELP) is an active tool used to promote language learning in multicultural societies, such as countries in Europe.
ELP developed a “language passport” that not only shows the knowledge a student has upon beginning to learn a new language (including their native language), but also the process and achievements involved in acquiring one or more new languages.
Objective: Record initial knowledge of native and target language; provide a framework for continued evaluation
Who it’s for: Just about any level, though best used for beginners of the CEFR A2 proficiency level.
What you need:
- A passport template with fill-in sections about native language proficiency in listening, speaking, reading and writing
- Target language proficiency in listening, speaking, reading and writing
- Extra pages for a regular recording of achievement
How to proceed:
Hand out the template and have students fill in the initial information, like their name, address and age, as well as their proficiency in their native language.
Ask them to fill in the target language proficiency section with their own self-evaluation of their current level. The CEFR rubric comes in handy here!
Students will be periodically updating the information in the passport, recording their progress throughout the class as they continue to learn and understand new concepts.
Then, use these next three activities to get your students actively involved in the self assessment process by creating easy-to-follow frameworks and practicing using those frameworks.
3. Mind Maps as Progress Checks
Mind maps are a creative way of building a to-do list and then reviewing progress made on the list at a later time.
For this exercise, you’ll be creating a pin-up board with lines connecting different goals proposed within a broader objective.
Objective: Interlace different types of goals among different language learning activities.
Who it’s for: All proficiency levels.
What you need:
- A large empty wall or bulletin board
- Header cards representing broad ESL objectives: grammar, listening, homework, exams, etc.
- Smaller cards for goals found in each of the objectives
- Blank cards for student-generated goals
- Many different colors of yarn (one color per broad objective) and tacks
How to proceed:
In the middle of the wall, stick a big card with the main objective of your ESL class such as “speaking fluently” or “passing the official exam.”
When first introducing a broad objective, stick the header card for that goal somewhere on the wall. Then connect that objective header to the main objective with yarn. For best results, use different colors of yarn for each objective so that your mind map is easy to read.
Pass out all of your goal cards to the class and then have students match them to the relevant objectives. Using your yarn, connect these goals to their assigned objectives. For example, if an objective is “job interview language,” relevant goals could be “not be nervous,” “sit up straight” and “smile while talking.” Each of these goals should be connected to the objective using the same color yarn.
Note: When introducing a new broad objective to the map, ask students if any of the goals already on the wall can be applied. If so, connect those goals to the new objective with the corresponding yarn color. That way, you can bring your students’ attention to any overlapping goals between objectives.
4. The “I Can / I Can’t” Game
Many standardized self assessment worksheets are based upon “I can statements” that help teach your students to express their capabilities.
Objective: Use the “I can statement” as a framework for self assessment.
Who it’s for: All proficiency levels.
What you need:
- Active verb flashcards (can be pictures, words or a mixture of both)
- Language proficiency marker flashcards
- Blank rubric worksheet
How to proceed:
Start by handing out all your active verb flashcards. Once you’ve passed out the flashcards, have each student show their card to the class and ask a question based on the verb given. For example, if the card is a picture of a person riding a bicycle, the student would ask, “How many of you can ride a bike?”
Students who can perform the action then raise their hand.
After everyone has asked a question, arrange your students into pairs and have them ask each other questions. This time, the student being asked a question will have to respond by making a “Yes, I can ____ / No, I can’t ____” sentence.
When a language marker flashcard comes up, the student with the first question asks, “Can you use the simple past tense?”
If the answer is, “Yes, I can,” the student with the question then asks, “How well can you use it?”
The answering student then responds based on their proficiency level (very well, okay, not so great, etc.) and then writes their response into their personal rubric sheet.
Keep the rubric sheets in a student portfolio and use them to compare progress later down the road.
5. The “Bad Day” Roleplay
This activity takes bad experiences and turns them into self assessment exercises, so that students can truly learn from their mistakes.
Objective: Explain language learning difficulties and give language advice.
Who it’s for: Intermediate to advanced students.
What you need:
- Bad day situational flashcards (ask your students to create their own bad day situations note cards to build the event deck)
- Language difficulties flashcards
- Blank cards for student input of language issues
How to proceed:
Place your students in pairs and have them read from the following script:
S1: Boy, did I have a bad day!
S2: What happened?
S1: A car splashed muddy water all over my new shoes. (situational flash card of a car splashing muddy water)
S2: That’s too bad!
S1: What would you have done?
S2: I wouldn’t have worn my new shoes on a rainy day!
On the first play, hand out bad day situational cards. Student 1 will use this bad day card to determine how to respond to “What happened?” and “What would you have done?”
After every student has practiced both roles, start a second play using language problem cards. Now that students should be familiar with the exchange, the pair must improvise on the spot the conversation.
S1: Boy, did I have a bad day!
S2: What happened?
S1: I couldn’t remember the rules about the passive voice for the exam. (language problem card of the passive voice)
S2: That’s too bad!
S1: What would you have done?
S2: I would’ve remembered to use “be” and put the main verb in the past participle form!
Continue this activity until all students get the opportunity to improvise.
6. Create a Themed Rubric
This activity can be done at the outset of each new theme you introduce, such as the beginning of a new chapter in the textbook or make it a part of the introduction to any practice activity you’re going outside the regular curriculum.
Objective: Student creation of theme-specific rubrics for current learning goals.
Who it’s for: Intermediate to advanced students.
What you need:
- Blank rubric worksheets
How to proceed:
Introduce a theme you’ll be working with for the next several classes.
Ask your students to list the possible goals involved with the theme.
The rubric should also include assessment adjectives like: great, okay, average or poor. Students will place a “1” under the adjective they feel best represents their goal assessment at the moment.
About halfway through the theme, ask your students to review their original marks and add a “2” for any areas they’ve noticed improvement in.
At the end of the theme, have students take one more look and add a “3” in the column that best represents their assessment of their command of the theme goals.
7. Create Their Own Tests
You can ask your students to write their own “final exams” and present the results.
Objective: Create a basic evaluation tool, the test, to organize and assess specific information learned.
Who it’s for: Intermediate and advanced students.
What you need:
- A textbook
- Students’ class notes
- Examples of different test sections: fill-in-the-blank; multiple choice; sentence transformation; etc.
How to proceed:
At the beginning of a particular theme, maybe halfway through your course, tell your students that they’re going to create their own test.
Outline how many questions you want, how many categories, how many total points, etc.
Put your students in pairs and have each pair begin the basic design of the end-of-theme test.
Once the theme has been taught, give your students a full class period to work with their partner in writing the test and answer keys.
Collect their tests and give everyone a big, fat “A+.” Surprise your students by telling them that, this time around, writing the test was the actual assessment.
Make sure to go over the tests yourself, highlighting any issues and exceptional work in the next class.
8. “What’s Your Favorite Series?” Discussion
This is an adaptation of a self assessment listening activity created by Steve Muir and Tom Spain, which you can read more about on the British Council Teaching English blog.
The activity is geared towards animating students to do goal work at home, then sharing their experiences in class through oral self assessment.
Objective: Improve out-of-class study habits while sharing learning experiences in class.
Who it’s for: Intermediate to advanced students.
What you need:
- List of video series
- Video usage goals: “used subtitles,” “learned new words/expressions,” “can explain an episode in class” and so on
- Long rubric worksheet to record weekly progress with students’ goals
Assess your students’ performance using numbers: 1 = poorly, 5 = excellently.
Look for series that help students reach their language goals such as:
- 1950s / 1960s TV programs
- Family drama
- Crime drama
- Situational comedy
The focus should be on series with excellent dialogue and established characters that spark interest in your students. Series that focus on action or special effects may distract them from their objectives. A great place to start looking for ranked lists across genres is Ranker.
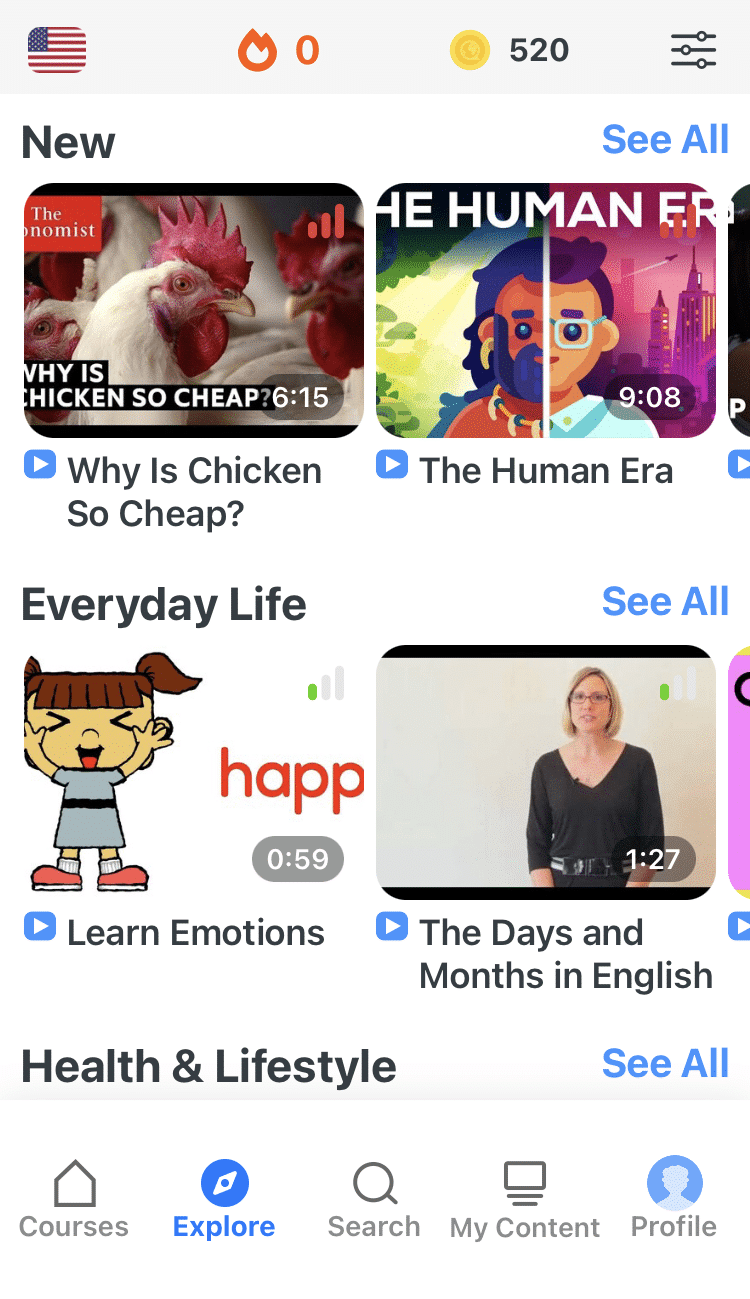
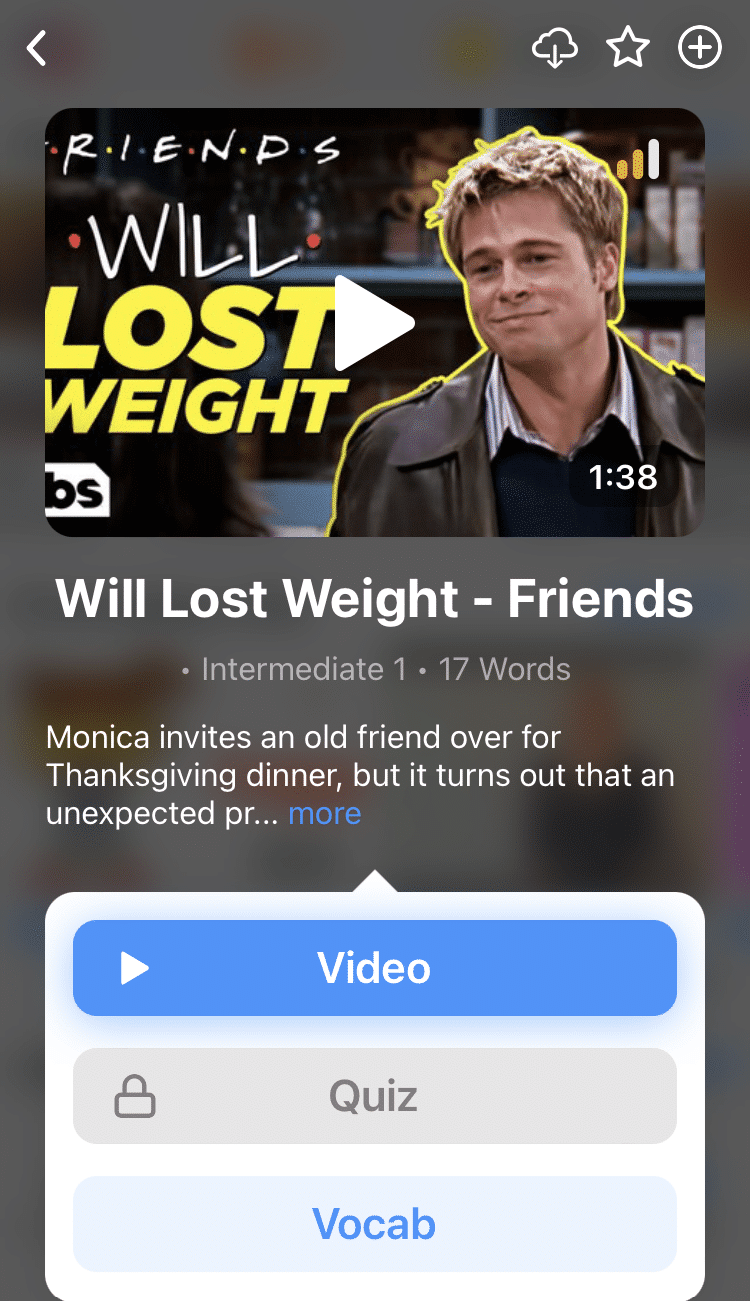
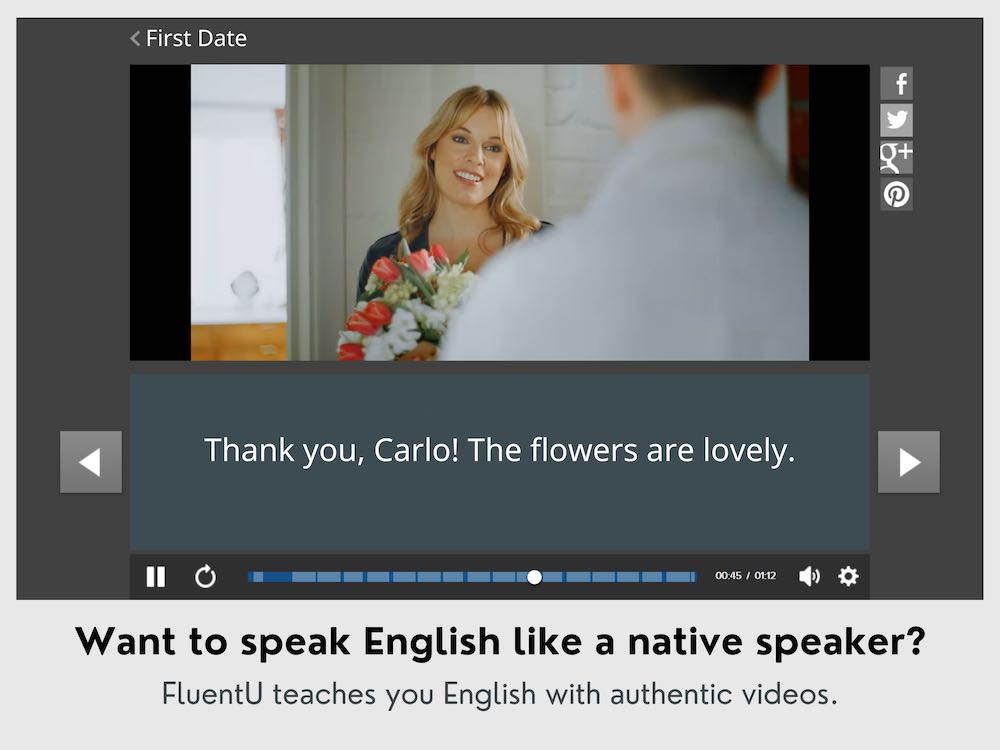
You can also find TV programs and series from a source like FluentU where your students can click on any word to see in-context definitions, tips, and video examples. You can also filter the content based on your students’ level and track their progress.
FluentU takes authentic videos—like music videos, movie trailers, news and inspiring talks—and turns them into personalized language learning lessons.
You can try FluentU for free for 2 weeks. Check out the website or download the iOS app or Android app.
P.S. Click here to take advantage of our current sale! (Expires at the end of this month.)
How to proceed:
Have your students choose an English television series that they’ll follow every week. Assign one night of the week where students watch an episode at home with their goals in mind.
The following week, have one or two students talk about the series, covering key points in the story and mentioning the goals involved with their activity.
Continue this activity throughout the course, giving each student at least one opportunity to share with the class.
You can even make this into a fun conversational exercise by asking students to give general commentary: if they recommend it to others, how they’d rate it and so on.
9. Student Portfolio Presentation
Ask your students to present their portfolios at the end of the course. On this day, students can share their own self-designed portfolios with the rest of their class. You can even have a signing ceremony, like people do with yearbooks!
Though the presenting student will self assess their oral skills, their results should include a peer assessment of each student’s presentation skills.
Objective: Orally present an end-of-course self assessment based upon material collected in a portfolio.
Who it’s for: All proficiency levels that use a portfolio to record study progress.
What you need:
- Student’s language study portfolios
- Rubric for peer assessment
How to proceed:
Brainstorm a list of goals involved in an oral presentation with your students. These can be goals like: speaking clearly, having an organized outline, using note cards, demonstrating with examples from the portfolio etc.
Then, create a rubric template that students will fill in as they listen to the presentations. While each student presents, listeners will use the rubric to grade their peers.
When everyone has finished presenting, collect the rubrics and share all the positive results with the class.
Then, have the class punch holes in their rubrics and add them to their portfolios. Once everyone has had a chance to present and receive their peer assessment rubrics, let your students walk around the class asking their peers to sign the “classmate page” in their portfolio.
Tips For Successful Self Assessment
Setting the broad objectives
If you haven’t already, make a list of teaching objectives for your ESL class based upon the textbook you’re using and the desired outcome assigned by your school administration.
Students will need to come up with their own list of objectives as well, and these objectives will probably be slightly different than your own. Give them the freedom to do this themselves, providing guidance only as needed.
Some common broad objectives include motivations for studying English, classroom environment and attitude, general grammar and structural assimilation, fluidity in speech and pronunciation, communication in English etc.
Effective self assessment creates itemized goals towards gradual, attainable ends.
Breaking objectives down into bite-sized pieces
Once you’ve determined your broad objectives, break them down into measurable goals that can be reached over the timeline.
For example, the broad objective of understanding general grammar can be broken down into smaller steps, like presenting the main verb forms, presenting present simple verbs in third person or combining verb forms with auxiliaries etc.
For students, those goals may be more like using the auxiliary “do” when making a question in the present simple, understand the difference between the three pronunciations of the suffix “-ed” and make contractions with pronouns using auxiliary verbs etc.
Making goals flashcards
Flashcards are useful for teaching and reminding your students of their goals. They also act as triggers for any self assessment activity you do during the course.
You can use flashcards as part of your self assessment activity by making a large poster with columns that represent any broad objective categories that you have in mind. Some examples of these categories include: attitude, classroom behavior, grammar and communication skills.
The recording rubric
Every now and then, our evaluations can seem overly subjective or inconsistent. As teachers, knowing beforehand what we want to look for during assessment makes rating student performance easier and more effective–which is why every well-organized ESL teacher should use grading rubrics when evaluating their students.
The same is true for student self assessment. Learners must be aware of their goals, and the best way to achieve that is to have them come up with a rubric that lists the goals and objectives they should work towards achieving.
Creating a rubric template will go a long way in saving time, in addition bringing structure to your self assessments. You can do this by printing a table from your word processor or spreadsheet program that lets students write in their goals in the first column and use the following columns to evaluate their performance.
Demonstrate the use of the rubric
There’s little mystery to showing students how to use the recording rubric as long as you’re clear from the outset what a rubric is and what the terms mean. Since you’ve already made them familiar with objectives and goals, handing out and having students fill in a rubric will become a regular class habit.
After any activity, hand out a blank rubric to each student then ask them what goals they think were relevant to their activity. If need be, you can use the goals flashcards to give students ideas of what they should list in the goal space.
Students choose the adjective that they think best assesses their level of achievement. You can even have students exchange rubrics in pairs so that they can assess each other.
Self assessment gets ESL students to analyze how and why they’re studying English. It helps them identify what they need to do to improve, and also gives them important, personalized feedback about their progress.
Download: This blog post is available as a convenient and portable PDF that you can take anywhere. Click here to get a copy. (Download)
And One More Thing...
If you like learning English through movies and online media, you should also check out FluentU. FluentU lets you learn English from popular talk shows, catchy music videos and funny commercials, as you can see here:
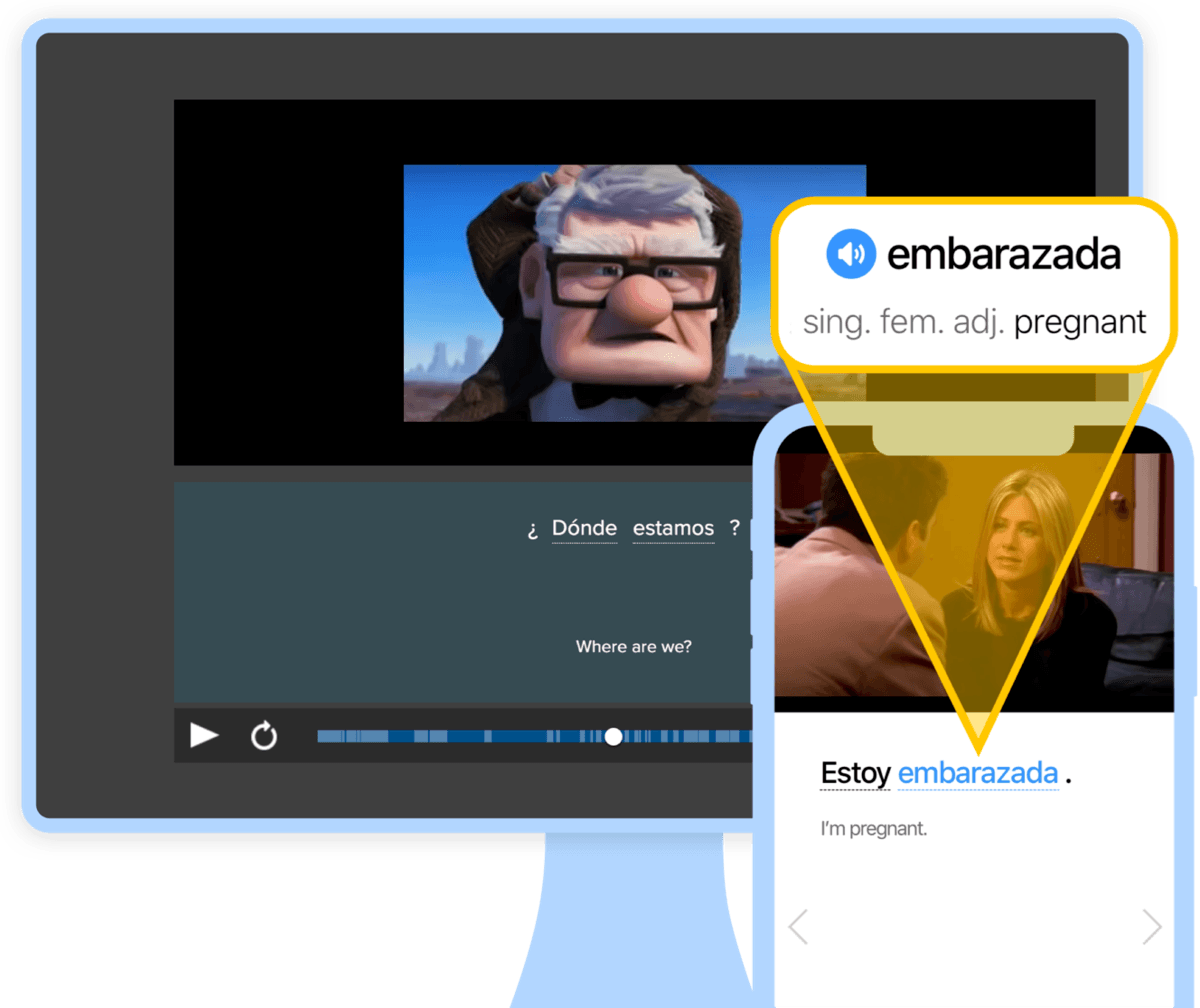
The FluentU app and website makes it really easy to watch English videos. There are captions that are interactive. That means you can tap on any word to see an image, definition, and useful examples.
For example, when you tap on the word "searching," you see this:
Learn all the vocabulary in any video with quizzes. Swipe left or right to see more examples for the word you’re learning.
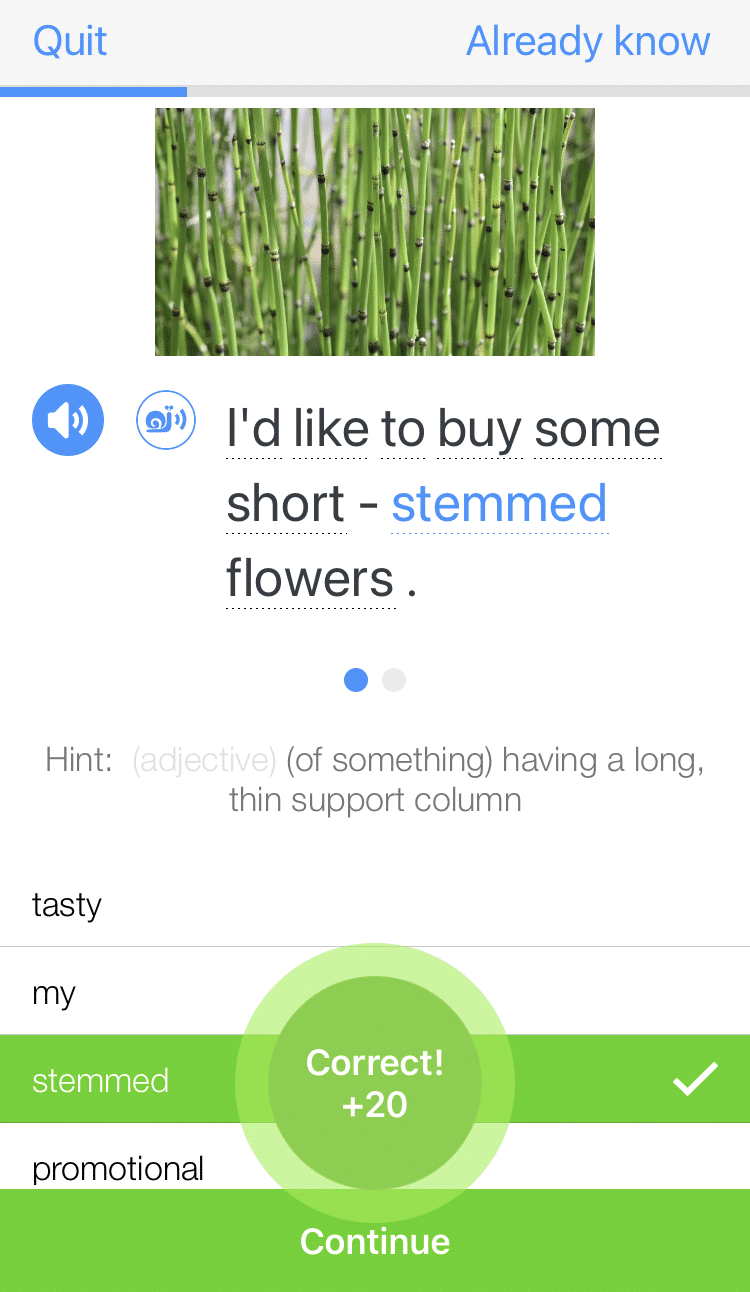
FluentU helps you learn fast with useful questions and multiple examples. Learn more.
The best part? FluentU remembers the vocabulary that you’re learning. It gives you extra practice with difficult words—and reminds you when it’s time to review what you’ve learned. You have a truly personalized experience.
Start using the FluentU website on your computer or tablet or, better yet, download the FluentU app from the iTunes or Google Play store. Click here to take advantage of our current sale! (Expires at the end of this month.)

