10 Advanced ESL Activities

Too often, the quantity of ESL students talking is given priority over the quality of the speaking time. While it’s important to get your ESL students talking, it’s even more important to get them talking well.
Check out 10 engaging activities that will get your advanced ESL students practicing the English they know and learning more along the way.
Download: This blog post is available as a convenient and portable PDF that you can take anywhere. Click here to get a copy. (Download)
1. Class Debate
Class debates are an ideal way to get your advanced students talking, especially because there are several opportunities for speaking practice in one activity.
First, break your class into smaller groups of about four or five students. Debating in large groups saves time, but it could cut down on how much each individual student actually gets to say. Depending on the size of your class, you may want to have two separate debate sessions, and have the students who aren’t participating in the debate judge the results for their classmates.
For the debate, give students an interesting topic and be sure to give them enough materials—in English, of course—to be able to address the issue you’ve assigned. A great way to do this is to choose an issue from current events and give your students access to recent English-language newspapers, either online or in paper form, such as The New York Times, The Wall Street Journal and The Guardian.
The New York Times requires a subscription for full access, as does The Wall Street Journal (if you and your students use these sources on anything like a regular basis, you may find they’re easily worth the price). You can also give students a choice of three fascinating debate topics and have them vote for which one they’d like to discuss.
Assign each group a side and give students approximately a half hour to prepare their arguments. Each side should be aware from the very beginning that you’ll require an introductory argument (five minutes), rebuttal (two minutes), second rebuttal (two minutes) and conclusion (two minutes). Each student will be required to manage one of these arguments; for groups of five, the introduction can be split in half. This will ensure that all students have the opportunity to speak.
When it comes time to begin the debate, flip a coin to decide which group gives the first argument. Both introductions are then given; encourage all students to take notes during the introductions. After the introductions, give groups two minutes to formulate a rebuttal.
Rebuttals are then given, followed by an additional two minutes for a second rebuttal. Students are given two minutes to edit their conclusions, as needed, followed by deliberation by the jury or the teacher.
Things to Watch Out for:
- While students are preparing their arguments, be sure to monitor groups to ensure that the preparation work is being done in English.
- Be sure that students who are giving the introduction and conclusion avoid the temptation to read what has been prepared. Students should be graded on delivery as well as argument.
2. Film a News Show or Skit
Filming a news show or skit is a great way for students to include multimedia in their oral English practice, especially if your school has a multimedia lab. Unlike a more traditional skit that students simply perform in class, this concept allows students to use free editing software, such as iMovie for Mac, to edit their films together.
First, decide whether you would rather have students film a news show or a skit. Skits tend to be better for larger groups that are older and more advanced, whereas a news show is better for intermediate learners or when you’re a bit strapped for time.
It can be beneficial to model a news show or skit with native content from FluentU. With this program, you’ll be able to showcase authentic English from video clips of the news or other media. Every video has interactive subtitles that let students pause and check the meaning of any word to avoid confusion.
You can also make a flashcard deck with relevant terms from the various videos on FluentU. These flashcards will let students see the word in context in sentences and clips from other videos. You can also use these flashcards to help students learn the words with adaptive exercises.
Once they’ve seen some examples and learned a few keywords, students will need to conceive of the skit and write it. You may wish to give direction as to a topic, especially if you’d like to link it back to something that you’ve been studying.
For example, if you’ve been reading a novel with your advanced ESL students, you may ask them to reinterpret a scene from the novel. If you’ve been working on vocabulary, ask students to incorporate at least ten of their new words into the skit.
For a news show, each student will present the daily news (or invented news!) from each section, i.e. general news, sports news, weather news, local news. This option allows students to still experience the multimedia aspect of this activity without having quite as much to prepare.
Should you choose the first option, you should allow your students at least four class periods to prepare: one to conceive of their skit, one to rehearse, one to film and one to edit. For the news show, you could conceivably do the activity in just three periods—one to write the show, one to film and one to edit. Use an additional class period to have a screening of all of the students’ projects.
Things to Watch Out for:
- Be sure to stress that each student must speak in the skit/news show. Some students will have larger parts than others, but make sure that students take turns filming so that they don’t end up behind the camera instead of in front of it.
- Encourage students to write a script that suggests their lines, rather than attempting to memorize exact lines. This will not only allow them to practice spontaneous oral production but also removes the tedious task of memorization which is not the goal of this exercise.
- Consider giving students’ skits a time frame, for example five to ten minutes.
3. Murder Mystery Party
A murder mystery party can be a fun last day exercise before a big break or vacation. It’s a bit tougher to grade than some of the other ideas on this list (you may opt not to) but it’s endlessly fun for students and it can be a lot of fun for you as well!
First off, you’re going to have to come up with a scenario and characters. You can make up your own characters or you can use a guide to murder mystery parties to start off on the right track. You can even purchase murder mystery party kits online.
Next, you’ll need to assign each of your students a character at the party. Each student will receive a card with secret information about his or her character, which the students should keep to him or herself unless asked a direct question by another character, in which case the student has to answer truthfully.
The aim of the game is to figure out who murdered the host of the party by asking questions and snooping for clues. You can leave clues around your classroom ahead of time, making them as simple as notecards describing an item (for example, a silver bracelet with a strange, rusty red stain on it) or you could create actual props, depending on the time you have to work on this project.
Things to Watch Out for:
- Be sure to encourage students to speak in English. When playing a game, there’s always a temptation to revert back to the native language, and this should be discouraged at all costs. To keep things going smoothly you’ll need to become part of the game yourself, so don’t forget to create your own character!
- If it seems as though students aren’t discovering clues quickly enough for the game to reach its conclusion, as the game-master you can give them hints. Just make sure that all students hear the hints!
4. Improv Games
Improv games can be a great way to encourage students to speak spontaneously, which is a vital English skill.
While there are lots of different improv games out there, this basic improv game is great for the classroom. It’s fast, it allows students to speak quite a bit and it’s very adaptable, depending on the class that you have.
Choose three students to go on “stage” to start. Ask students in the audience to name a place, which becomes the setting. From here, the students should begin to improvise a scene.
Right before the scene begins, ask each student to take a slip of paper, upon which you’ll have already written a random word. The student must use the word in the skit at some point. Students have only five minutes to finish the skit and use each of their words before another three students take their place.
If you think that students need more guidance, you can also give them characters or a basic premise. For example, “You’re all roommates and you need to talk to Chris about the problems being posed by his pet alligator.”
As students get used to the game, you can also allow audience members to raise their hands periodically and throw in something new when called on. For example, a student might say, “Someone knocks on the door.” Or “A bird flies in through the window.”
Things to Watch Out for:
- With games, it’s always better to let the game reach its logical conclusion first and correct, if needed, later. Be sure to take notes so that you can address any grammar issues or other problems that you noted during the game. As always, the best way to correct speech like this is to first repeat or write the sentence the way you heard it, and then ask students to offer a correction.
5. Record an Interview
This activity allows advanced English students to use their knowledge to correct their classmates, which gives them even more linguistic awareness.
First, place your students into pairs. Give students between five and ten minutes to come up with a list of questions—for an advanced class, between seven and ten questions should be enough, as the questions should be open-ended.
Have them download a voice recorder app onto their phones, and allow students to interview one another. A variant of this may be to allow students to take on a persona, real or imaginary, and answer the questions as this persona.
Once the interview is over, have students listen to the recordings and correct themselves and one another. Ask students to justify their corrections, to ensure that they have understood the mistakes that were made. These corrections should be written out and turned in.
Things to Watch Out for:
- Students correcting other students can become mean-spirited in the wrong context. Make sure that students are correcting one another helpfully.
- Ideally, the teacher should listen to all recordings to make sure that no corrections were missed. Have students keep interviews to under 5 minutes, to make this easier for you, and have them share their audio files via Dropbox or email so that you can listen too.
6. Discussion: Speed-dating Style!
This is a fun one that can be used as a main activity or as a warm-up to a lesson. First, you’ll need to rearrange the classroom a bit, if you’re able to in your teaching environment.
Organize your class into two concentric circles with chairs from the outer circle facing in, and chairs from the inner circle facing out. The structure of this activity is much like the deeply romantic modern courtship ritual of speed dating. Choose one circle to be “mobile.” After three minutes of discussion, students in the “mobile” circle will cycle clockwise to speak to a new partner.
There are a number of ways you can organize the topics they’ll discuss. You could call out a new topic every three minutes, or, to really get your students to develop an opinion, you could have them discuss the same topic with each person in the opposite circle.
Time is of the essence here; it’s best to keep your topics fairly straightforward, as there won’t be much space for reflection as the seconds tick away. I find relatively light topics such as “Is it really that good being young?” “Which are better: cats or dogs?” and “Should students wear uniforms?” are very effective for this format.
When teaching a course on discussion and debate at the Thai university where I work, I always use this activity as an ice-breaker for the students to get to know each other. It warms them up and helps them become comfortable with each other, which can be very important in encouraging students to express their opinions to each other.
Things to Watch Out for:
- You might find that students run out of things to say before the three minutes are up. Have some follow-up questions ready in case that happens so you can keep the conversation going.
- Listen for common mistakes that you can go over as a class after the activity.
7. Think-Pair-Share
Also called “Talking Partners,” this activity begins by giving the class a topic to think about. They can think quietly about the topic for a few minutes and are then assigned a partner.
Students will discuss their opinions about the issue with their partner. After a set number of minutes is up, pairs can share their opinions about the topic with the class as a whole.
Possible topics for Think-Pair-Share might include “Nurses should be paid more than lawyers,” “Alcohol should be made illegal” and “Money defines success in life.”
This activity lends itself to easy differentiation: You might pair up a weaker student with a stronger one, or decide to partner two strong students together to keep them challenged.
Likewise, when each pair is sharing their opinions with the class as a whole, you may wish to have each student explain the position of their partner rather than their own opinions. A kind of “devil’s advocate” then can be a useful exercise to lead into more formally organized debates.
Things to Watch Out for:
- Again, some pairs may finish talking before the set time is up. If this happens, you can have them give you a quick summary of their opinions and then ask follow-up questions for them to continue discussing. Or, if they share the same opinion, you can ask them to discuss arguments that the other side might use in a debate.
8. Pros and Cons
This simple activity is very useful—whether as preparation for structured discussion or debate or as an end in itself. It can also be a great way for students to reflect on a topic while forming their own opinion.
Pros and Cons involve individually making lists of the pros and cons (or the for and against) of a given topic. It allows the student to weigh the different arguments and counterarguments in their minds.
It can also provide a useful jumping-off point for extended pieces of writing. I sometimes provide students with word banks of target phrases, vocabulary and sentence starters during this activity, helping the students express their ideas more coherently.
When the students have completed their list of pros and cons, they can use this as a basis for writing their arguments in the form of an essay or debate preparation. The list allows them to see points and counterpoints they can develop, and also highlights the fundamental differences between mere propaganda and a well-developed argument that has taken counterarguments into full consideration.
“TV does more harm than good,” “Group English classes are better than private lessons” and “Celebrities are overpaid” can be good starting points to get the pros and cons ball rolling!
Things to Watch Out for:
- Picking the topic is an important part of this activity. Try to make it relevant or interesting for your students, but not too advanced for their current level. Again, you can tailor it to the specific vocabulary or topic you’ve been teaching in class.
9. Rounds
An important aspect of discussion is empathy. The ability to understand things from another’s point of view can be crucial in helping us develop a more sophisticated opinion of our own. “Rounds” effectively does this by putting the student briefly in the position of playing devil’s advocate.
Begin the activity by writing a contentious discussion statement on the whiteboard, such as “Zoos are a necessary way to safeguard endangered species” or “Third-level education is not worth the financial investment.” Have the class divide itself along the lines of for and against, based on their actual opinions. The more contentious the issue, the more beneficial the exercise.
Then, tell students that those who are “for” must now speak for 30 seconds against the statement, and those “against” must speak for 30 seconds for the statement. You may wish to have a number of different statements ready to prevent students from merely repeating the arguments of others.
In this activity, the opinions expressed are less important than the intellectual gymnastics required to understand the opposing opinion and formulate an argument against their own stated belief. This is also a useful skill to develop when undertaking formal debates.
Things to Watch Out for:
- Since you’re dealing with contentious issues, the discussion could get tense and students could take it personally and get upset. Students could also feel singled out or embarrassed if they’re outnumbered by the other side. You know your students best, so approach this activity considering how they might respond. It could be a good opportunity to talk about respectful disagreement.
10. Socratic Circles
A Socratic Circle is a more formal discussion method developed from the idea of the Socratic dialogue, whereby we arrive at the “truth” by a process of questioning and answering, then reflecting and critiquing, and finally resulting in a very refined argument or position. In the context of the classroom, it usually revolves around responses to an open-ended question based on a written text.
To begin, assign a suitable text or passage to the class for homework. The students should read, analyze and annotate the text with their own thoughts and opinions. Some very interesting articles to inspire discussion can be found here.
In the next lesson, divide the class into two concentric circles, both facing inwards. Students sit in their assigned circles with their text.
The inner circle then discusses the text, using their notes to help them formulate their ideas. You can use a series of prepared open-ended questions to simulate the discussion.
The outer circle sits quietly while observing closely, and may take notes. After ten minutes (or whatever time is appropriate for your group), the outer circle then provides feedback to the inner circle based on their observations. The groups then switch and the process repeats.
This activity provides excellent training in listening and speaking, and bridges these skills to reading and writing. Generally, the focus of the questions will be a moral dilemma of sorts. This doesn’t mean, however, that it can only be used with older students. Important philosophical questions are raised in many children’s texts too, especially in fables such as “The Tortoise and the Hare.”
As the teacher, you can also differentiate the complexity of the questions in line with the maturity of your students. Usually, the text will be a short thought-provoking piece. While fables work well with younger students, strong, opinionated newspaper editorials are great for older students.
Things to Watch Out for:
- Make sure everyone contributes to the discussion rather than relying on the stronger students to do most of the talking. It will quickly become obvious who did or didn’t do their homework!
- If it seems like some or all of the students didn’t fully understand the text, take some time to break it down and have the students use context to discover the meaning of unknown words and phrases.
These techniques are only one element of teaching your advanced students to speak English.
The important thing is to help students overcome their initial fears of speaking and to give them plenty of time to practice.
These activities will let you achieve both objectives!
Download: This blog post is available as a convenient and portable PDF that you can take anywhere. Click here to get a copy. (Download)
And One More Thing…
If you’re like me and prefer learning English on your own time, from the comfort of your smart device, I’ve got something you’ll love.
With FluentU’s Chrome Extension, you can turn any YouTube or Netflix video with subtitles into an interactive language lesson. That means you can learn from real-world content, just as native English speakers actually speak.
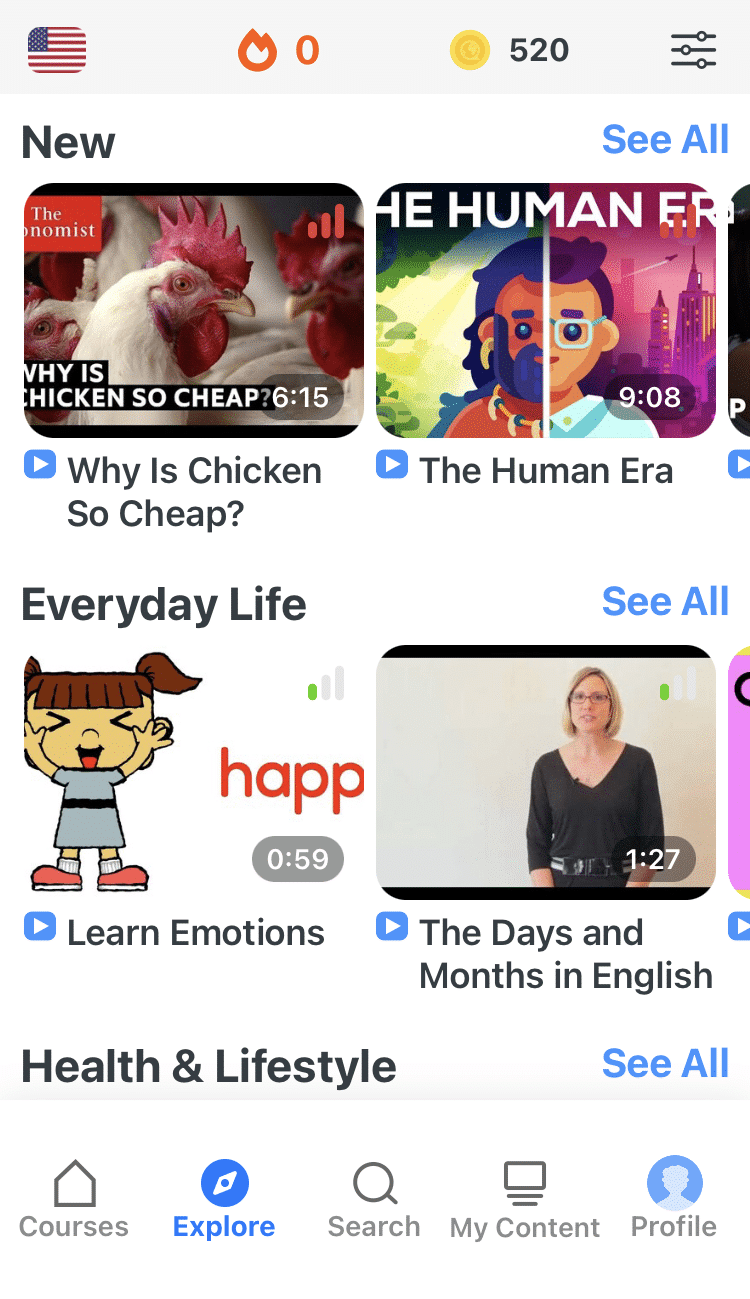
You can even import your favorite YouTube videos into your FluentU account. If you’re not sure where to start, check out our curated library of videos that are handpicked for beginners and intermediate learners, as you can see here:
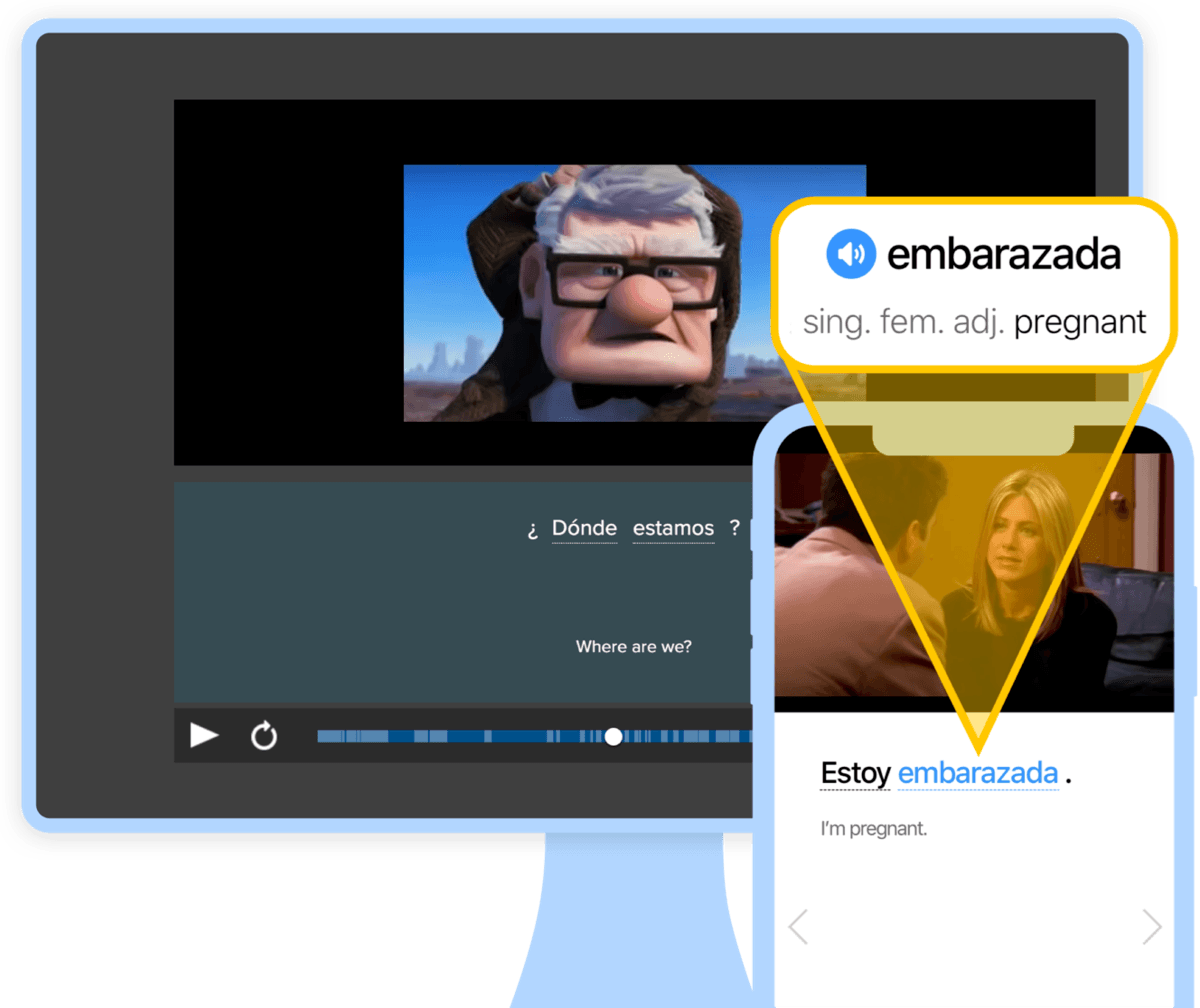
FluentU brings native English videos within reach. With interactive captions, you can hover over any word to see an image, definition, and pronunciation.
Just click on the word to see other example sentences and videos where the word is used in different contexts. Plus, you can add it to your flashcards! For example, if I tap on the word "viral," this is what pops up:
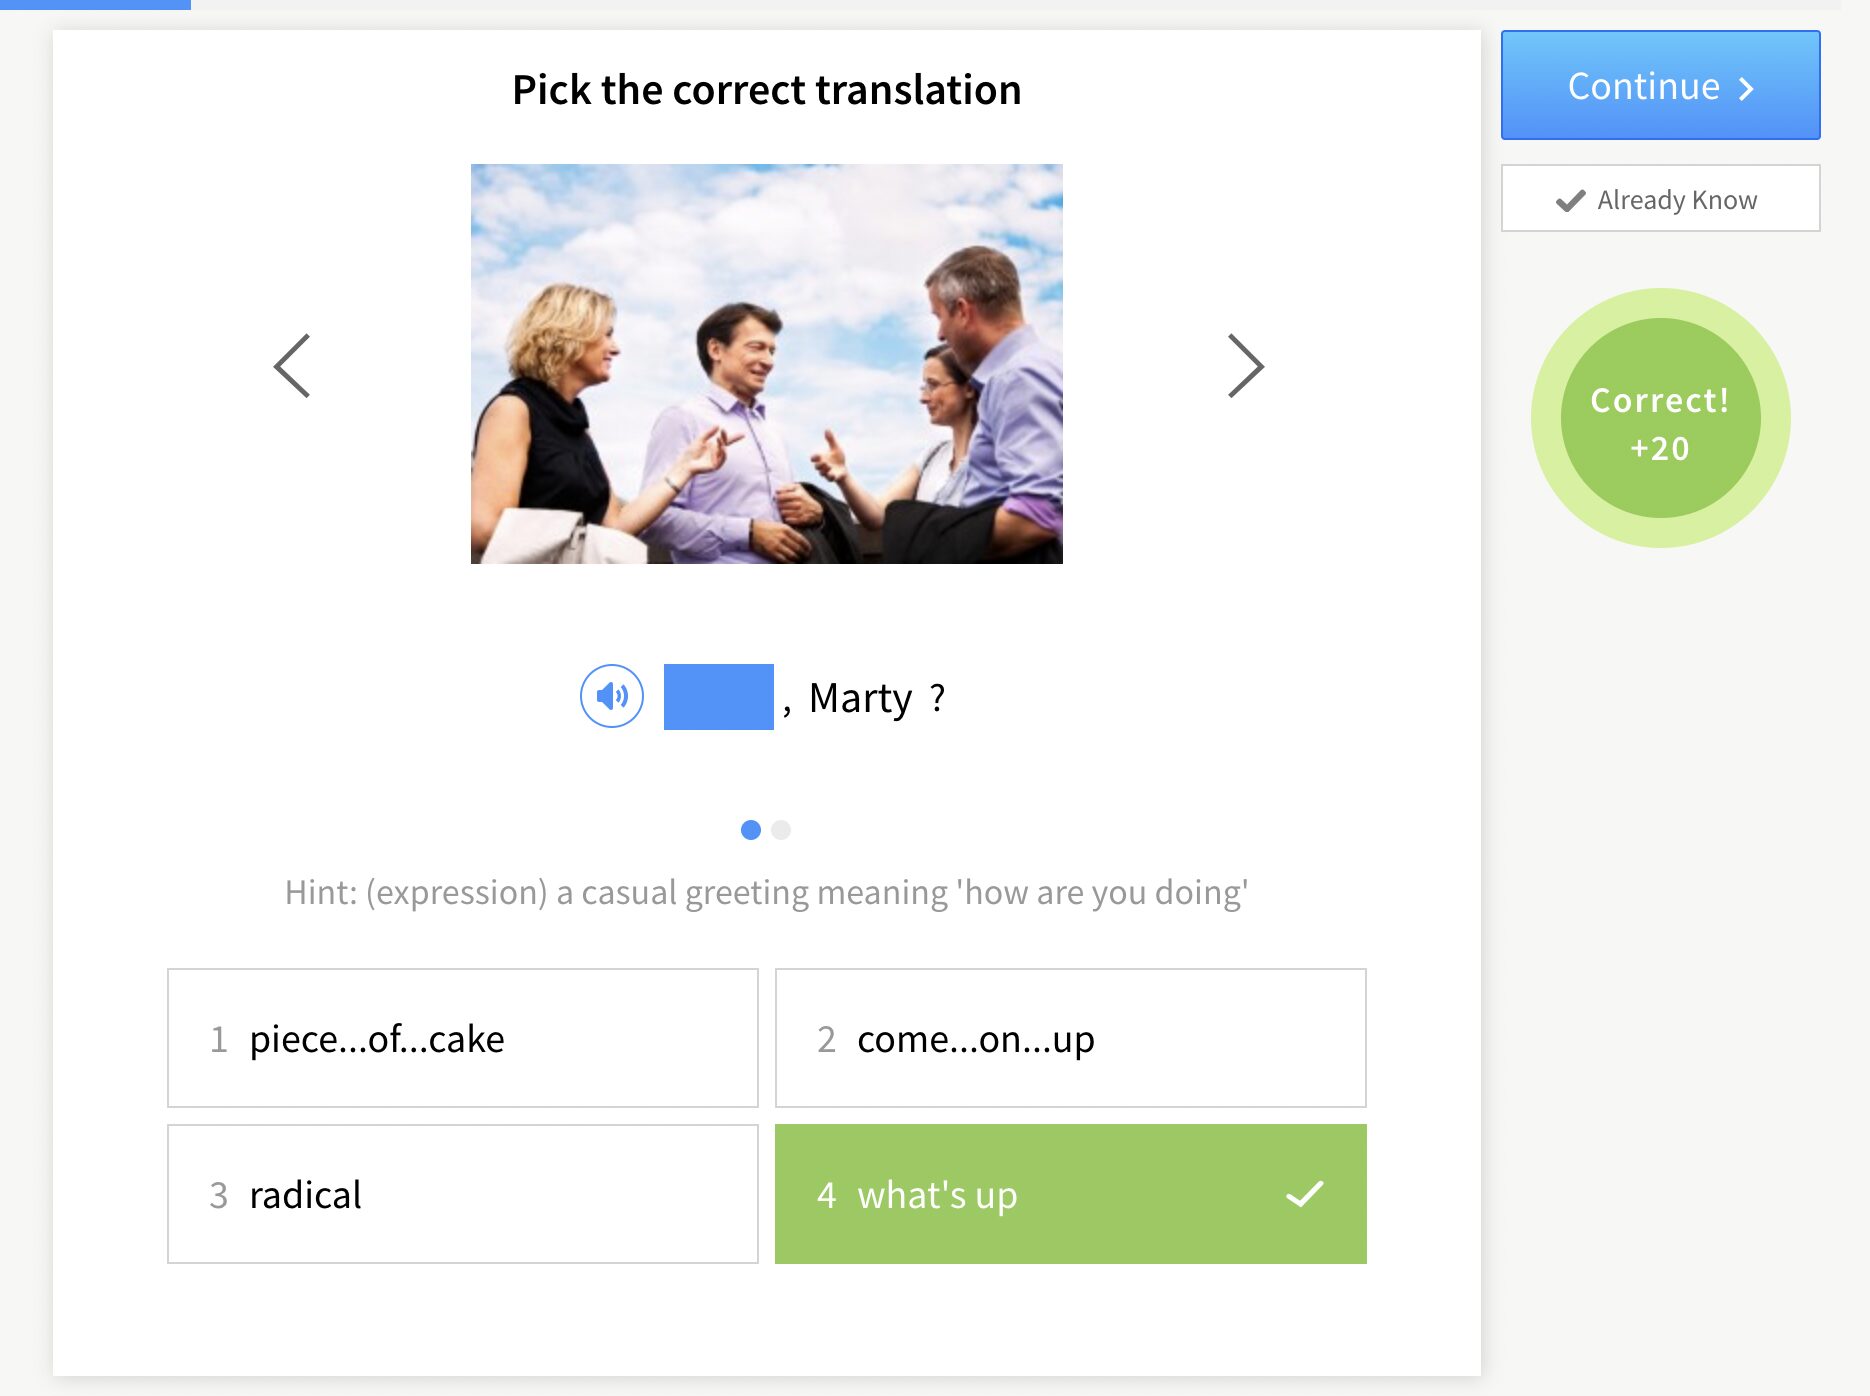
Want to make sure you really remember what you've learned? We’ve got you covered. Practice and reinforce the vocab from each video with learn mode. Swipe to see more examples of the word you’re learning, and play mini-games with our dynamic flashcards.
The best part? FluentU tracks everything you’re learning and uses that to create a personalized experience just for you. You’ll get extra practice with tricky words and even be reminded when it’s time to review—so nothing slips through the cracks.
Start using the FluentU website on your computer or tablet or, better yet, download our from the App Store or Google Play.
Click here to take advantage of our current sale! (Expires at the end of this month.)


